Wuhan Tianyuda Precision Machinery Co., Ltd.
Contact Detail
Adress:Building 15, Block E, Optics Valley Core Center, 52 Liufang Avenue, Jiangxia District, Wuhan City, Hubei Province

Tel:+86 153 8710 0967
E-mail:joy.hu@whtyd.com
Tel:+86 135 5467 0376
E-mail:Linda.Jiang@whtyd.com
Product Description
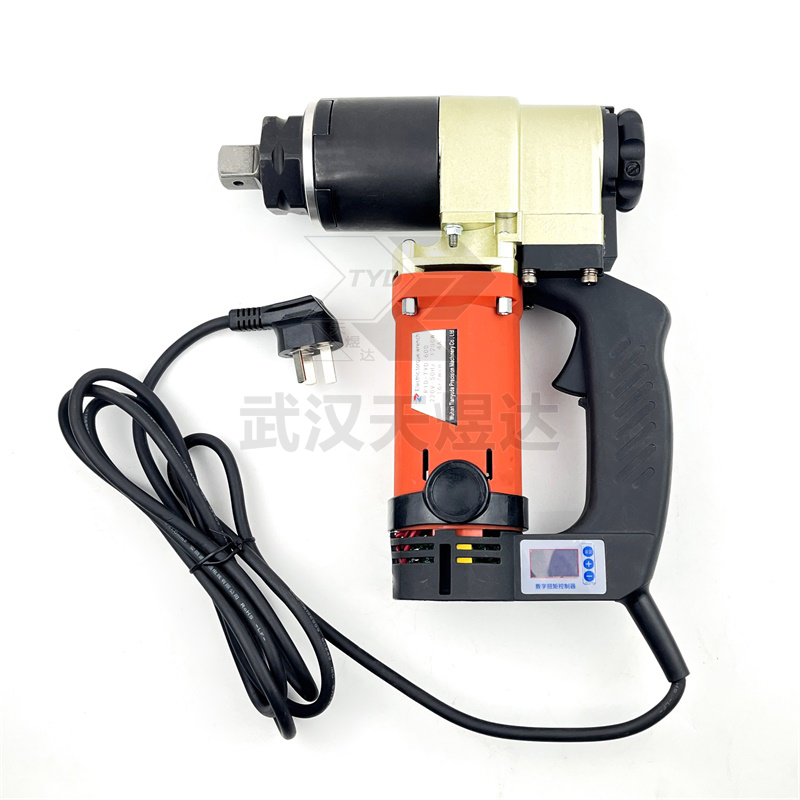
P1D-TYD series fixed torque electric wrench is a mechanized construction tool for assembling threaded parts and bolts, with automatic torque control function. Widely used in the erection of bolt-welded structural steel bridges, the installation of workshops, towers and chemical, metallurgical, power generation equipment, large machinery, lifting equipment and vehicle assembly operations, as well as occasions with strict requirements on the torque of threaded fasteners

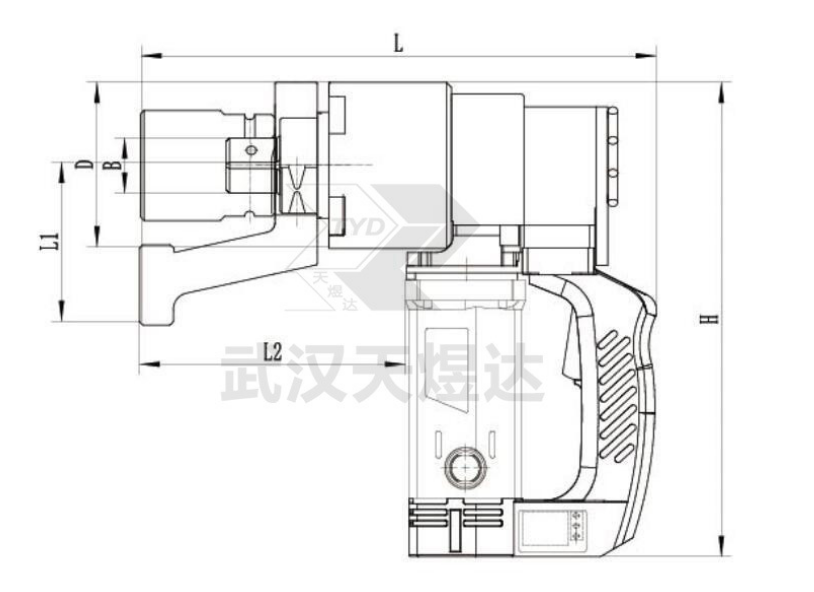
Technical Parameter


Product Features


1) Electric torque wrench has a compact design, high speed and light weight
2) Electric torque wrench control equipment is installed on the main body, digital display, button operation.
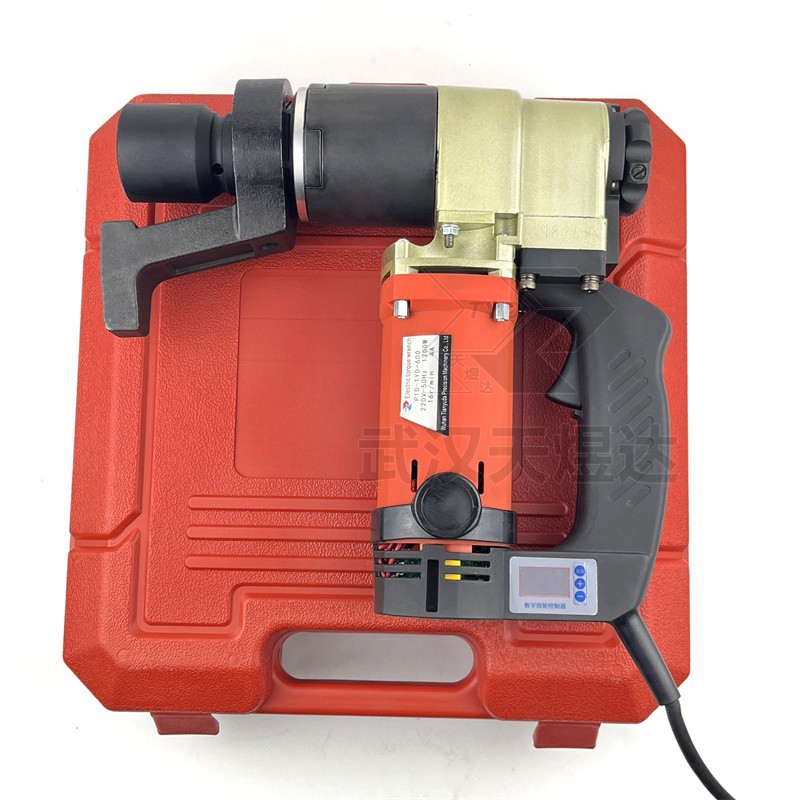
3) The socket and reaction rod are independent of the wrench body, which is convenient to replace the socket and reaction rod.
4) There is no vibration to the operator's hand during operation, no reaction force, low load, and reduced labor intensity.
5) The output torque value can be easily set by directly reading the torque displayed on the screen. No conversion is required.
6) Torque control is available in both directions.
7) The wrench stops when the required torque is reached.
8) Repeat torque accuracy +/- 5%.
Operation method
1. Check before operation
A check before use is to confirm that the power is turned on, the switch is turned on, and the motor sound is normal, then the wrench can be used.
2. Preheat the wrench for at least 5 minutes (10 minutes in winter to a cold place)
Start with no-load operation for rated accuracy, select the wrench's maximum torque preheat.
3. "Tightening" operation
1) Turn the handle to the R position.
Unlock: When the wrench stops, first press the "set button", then press and hold the "minus" button for 3 seconds, the upper right corner will become the unlock icon, and the unlocking operation is completed.
Locking: When the wrench stops, first press the "set button", then press and hold "plus" for 3 seconds, the upper right corner will turn into a lock icon, and the locking operation is completed.
2) Gear adjustment: After the wrench is stopped and in the unlocked state; press "plus" or "minus" to select the corresponding gear. The data before the gear adjustment is restored.
3) Fully insert the reaction arm sleeve into the nut by turning the internal gear
*When the wrench is activated, the rotation direction of the reaction arm lever is opposite to the rotation direction of the nut.
4) Press and hold the switch to start, the reaction lever stops on the connecting material, and the tightening starts.
5) When the target torque is reached, the wrench automatically stops turning.
4. "Loose Nut" Operation
1) Turn the handle to the L position.
2) Adjust the torque to the target torque.
3) Fully insert the reaction arm sleeve into the nut by turning the internal gear.
*When the wrench is activated, the rotation direction of the reaction arm lever is opposite to the rotation direction of the nut.
4) Press and hold the trigger switch to start.
The reaction rod rests on the connecting material and the nut begins to turn.
●Before loosening the nut, please confirm that the handle is in the L position, ignoring it will cause injury and damage.
●The value displayed on the torque setting board is a reference value, and it is recommended to use a torque tester to check.
●Confirm the locking torque, check once after 8 operations, and lock at least 5 bolts.
●Use a torque wrench to tighten the bolt for additional tightening and measure the torque when the nut is turned again.
● Calculate the average torque and compare it with the target torque.
●When the difference is more than +/-5%, make fine adjustment, be sure not to use the same bolt for adjustment.
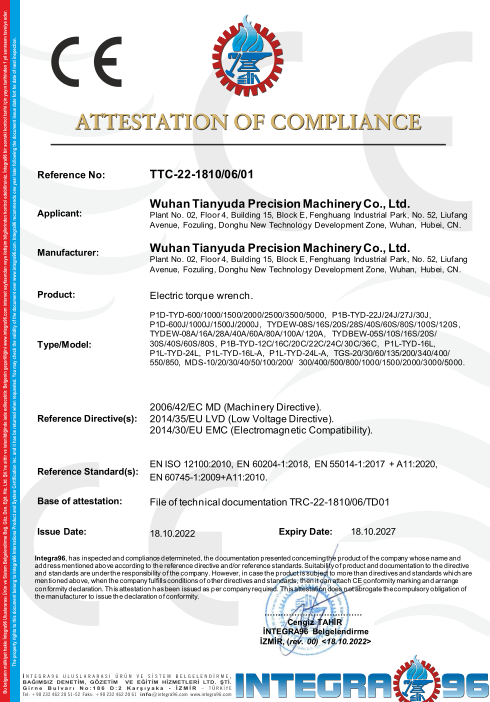
Certification
